# 自动化测试
每次手动 npm run test 跑测试是很痛苦的。通常我们会把执行测试这一步放到流水线中,这也是前端工程化非常重要的一步,称为 “自动化测试”。
正好我们可以使用 Github 推出的流水线工具—— Github Actions (opens new window) 。这一章,就带大家一起配置一下吧。
# Github Actions
在根目录添加 .github/workflows/node.js.yml:
# .github/workflows/node.js.yml
name: Node.js CI

on:
  push:
    branches: [ main ]
  pull_request:
    branches: [ main ]

jobs:
  build:

    runs-on: ubuntu-latest

    strategy:
      matrix:
        node-version: [16.x]

    steps:
    - uses: actions/checkout@v3
    - name: Use Node.js ${{ matrix.node-version }}
      uses: actions/setup-node@v3
      with:
        node-version: ${{ matrix.node-version }}
    - run: npm install
    - run: npm test
2
3
4
5
6
7
8
9
10
11
12
13
14
15
16
17
18
19
20
21
22
23
24
25
26
这里 on 会监听 main 分支的 git push 和 PR 提交两个操作。 开发者在 main 分支推代码或者 PR 合并都会执行下面配置的 jobs。
下面的 jobs 也很好理解,就是执行一些 bash 脚本。
现在把代码推到 main,会发现 Github Actions 开始执行,并成功。
# Coveralls
还记得刚开始时我们配置的 Jest 测试覆盖率么?如果流水线每次跑完都生成一份可视化的测试报告就完美了,不仅能做预警,还能实时了解整体测试覆盖情况。
比较著名的测试平台有 Coveralls (opens new window),它能够读取 Jest 生成的 lcov.info 覆盖率文件,并以可视化的方法展示出来:

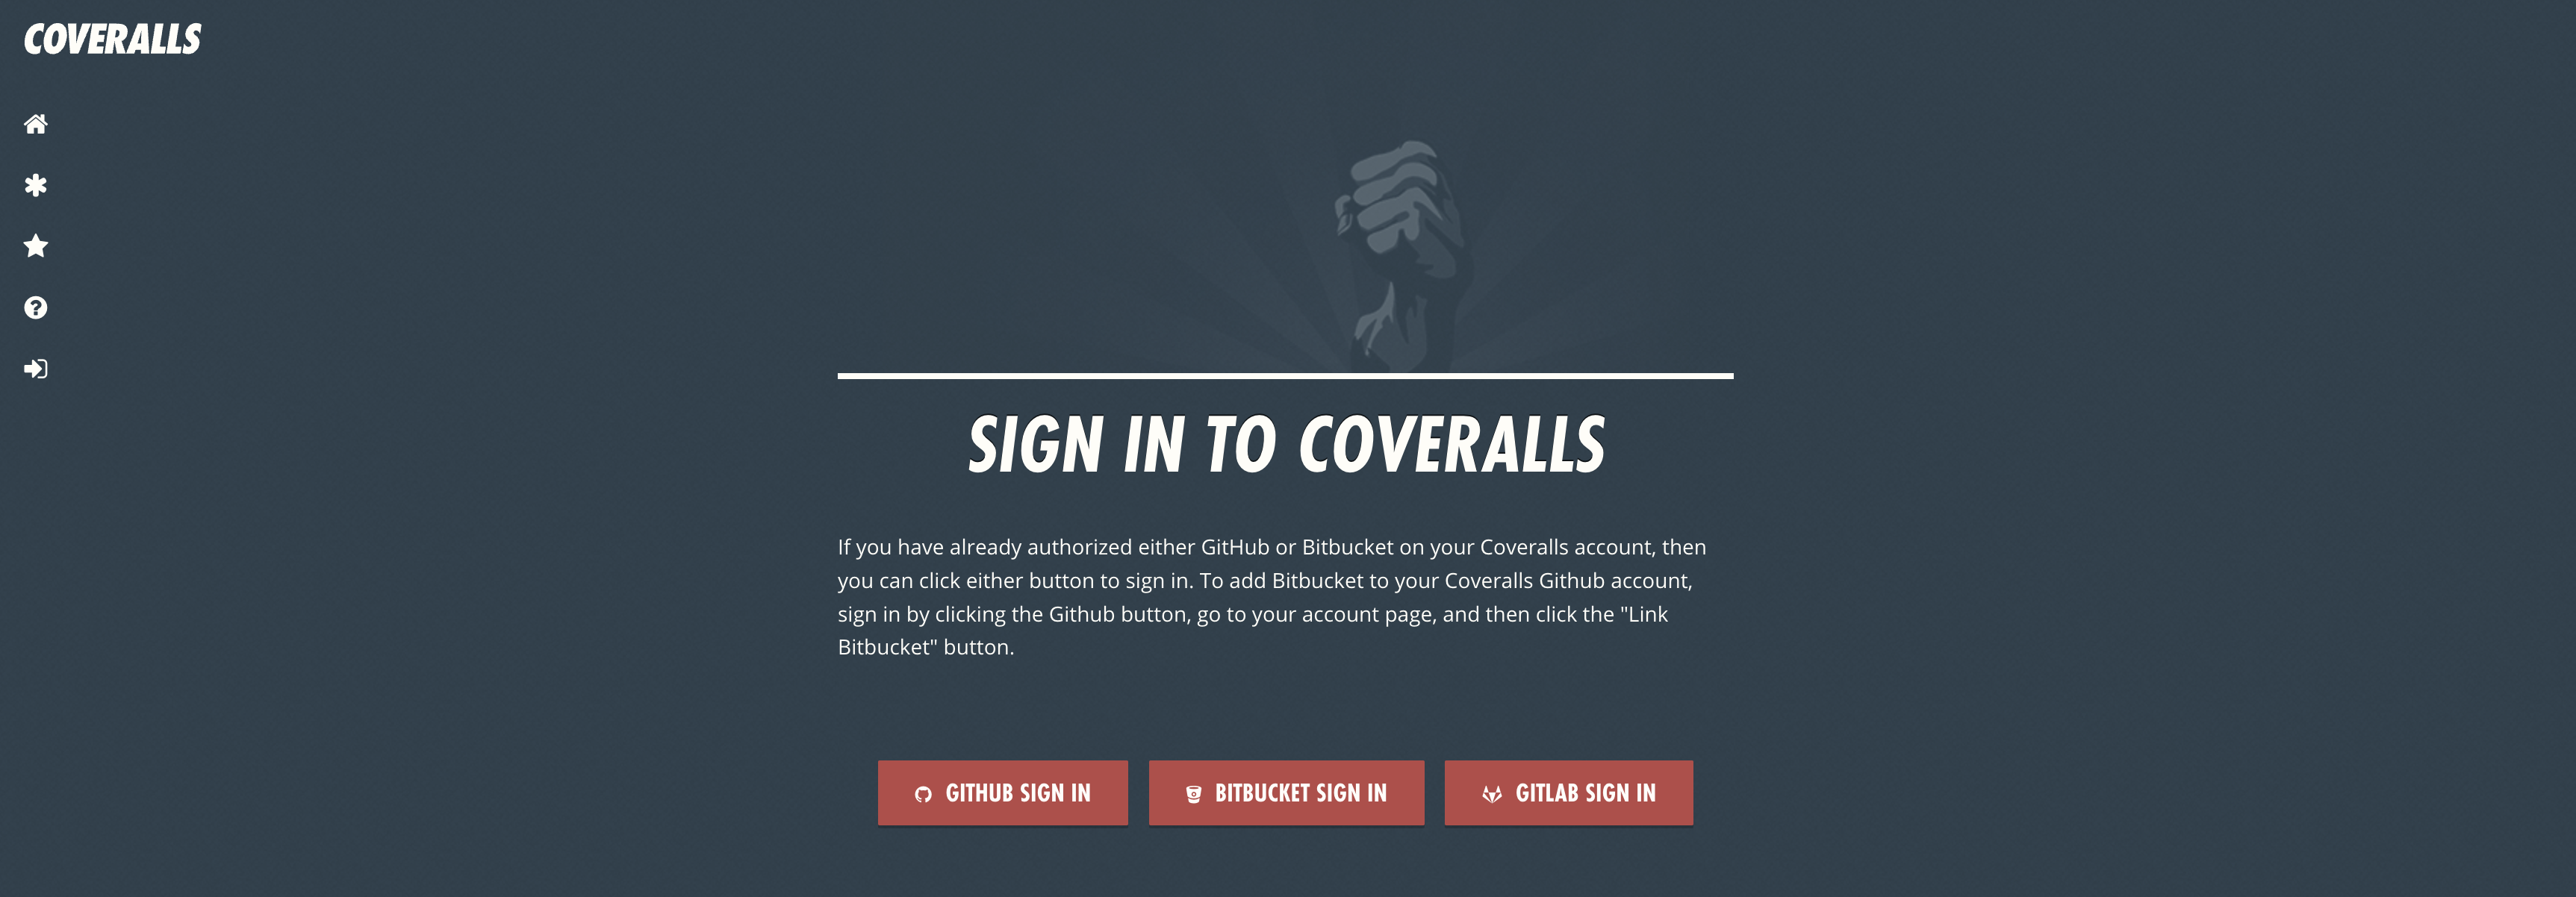
首先在 Coveralls 官网 (opens new window) 用 Github 账号登入:
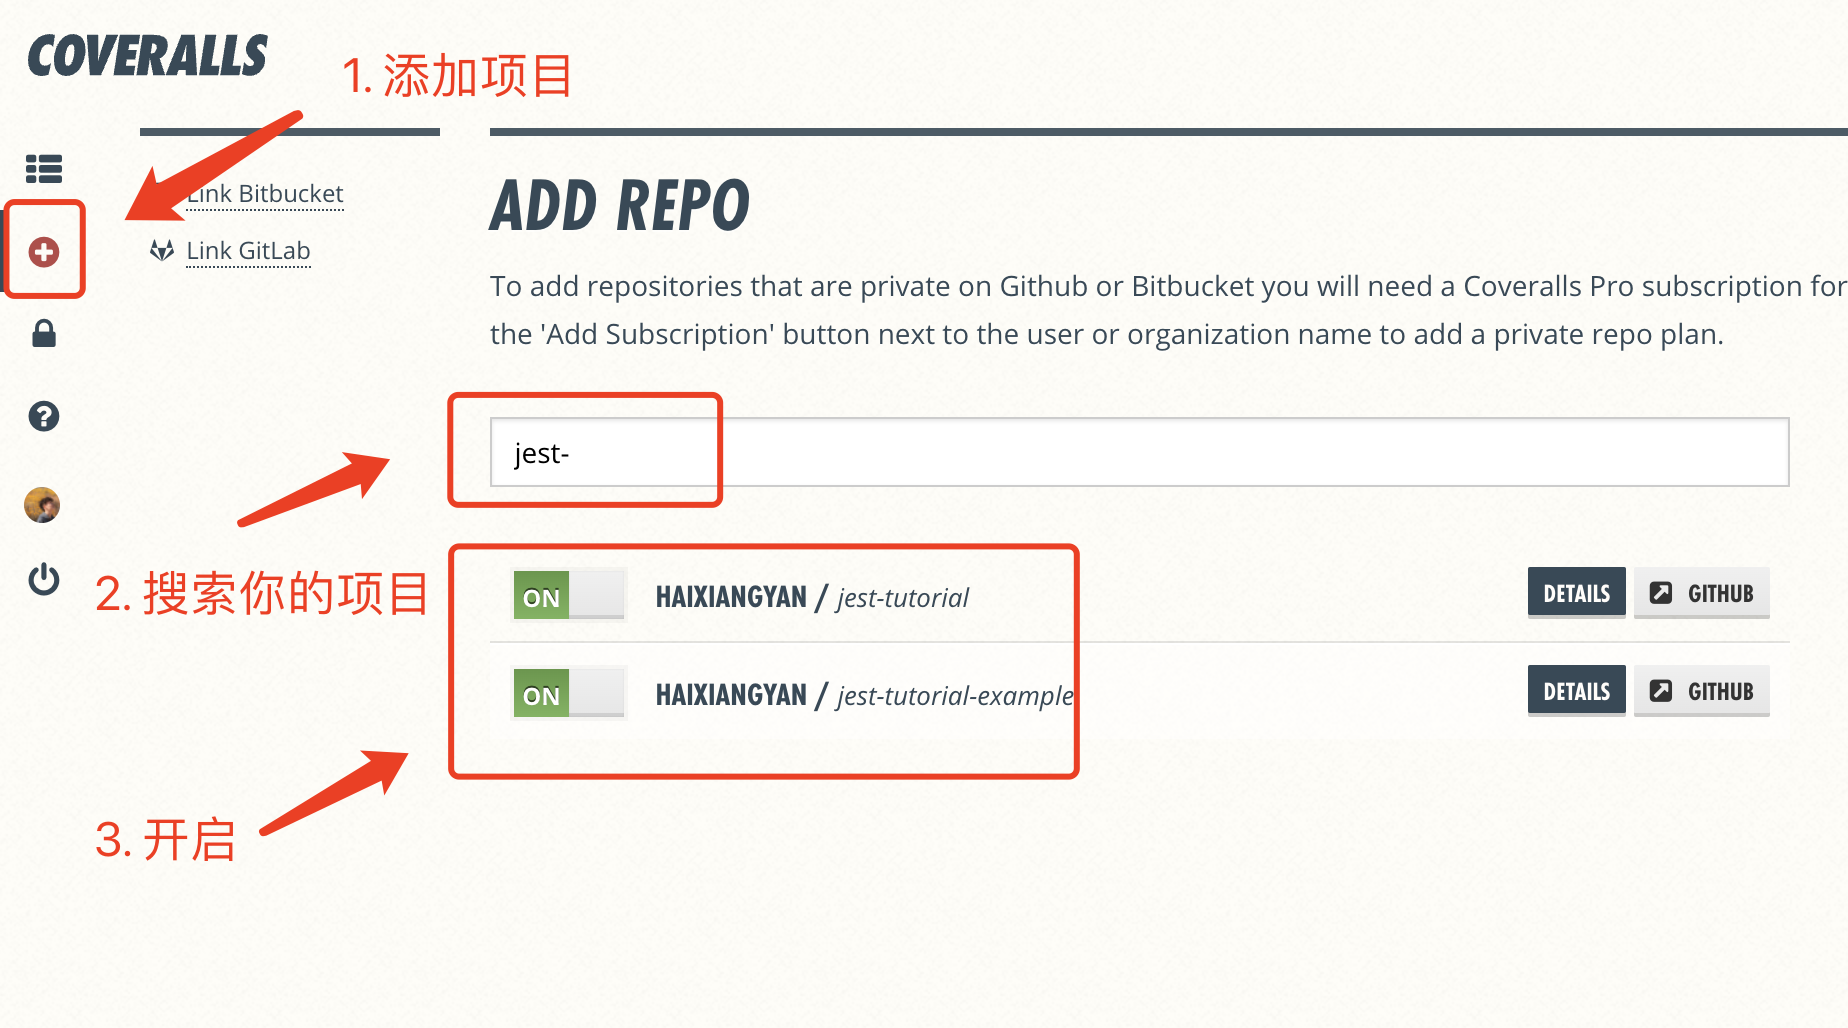
接下来,添加你的 Github 项目:
添加完项目并没有结束,如果你使用 Travis CI (opens new window) ,可能要手动写命令把 lcov.info 传给 Coveralls (opens new window) 。而 Github Actions 里有 Coveralls 组件,使用它就能自动完成:
name: Node.js CI

on:
  push:
    branches: [ main ]
  pull_request:
    branches: [ main ]

jobs:
  build:

    runs-on: ubuntu-latest

    strategy:
      matrix:
        node-version: [16.x]
        # See supported Node.js release schedule at https://nodejs.org/en/about/releases/

    steps:
    - uses: actions/checkout@v3
    - name: Use Node.js ${{ matrix.node-version }}
      uses: actions/setup-node@v3
      with:
        node-version: ${{ matrix.node-version }}
    - run: npm install
    - run: npm test

    - name: Coveralls
      uses: coverallsapp/github-action@master
      with:
        github-token: ${{ secrets.GITHUB_TOKEN }}
2
3
4
5
6
7
8
9
10
11
12
13
14
15
16
17
18
19
20
21
22
23
24
25
26
27
28
29
30
31
再次把代码推到 main 分支,等上一会,就可以在 Coveralls 项目列表页 (opens new window) 看到你的测试覆盖率情况了。
一旦把测试报告推到 Coveralls,你就可以在项目详情页里找到这个 Badge:
![]()
点击 embed 可以看到有多种嵌入方法,一般会把这个 Badge 放到 README.md,让项目看起来更有逼格:
# 总结
这一章我们学会了如何配置 Github Actions,在每次推代码和合并 PR 时自动跑测试,并通过 coverallsapp/github-action@master 组件把测试覆盖率报告发送给 Coveralls (opens new window),将测试情况可视化。